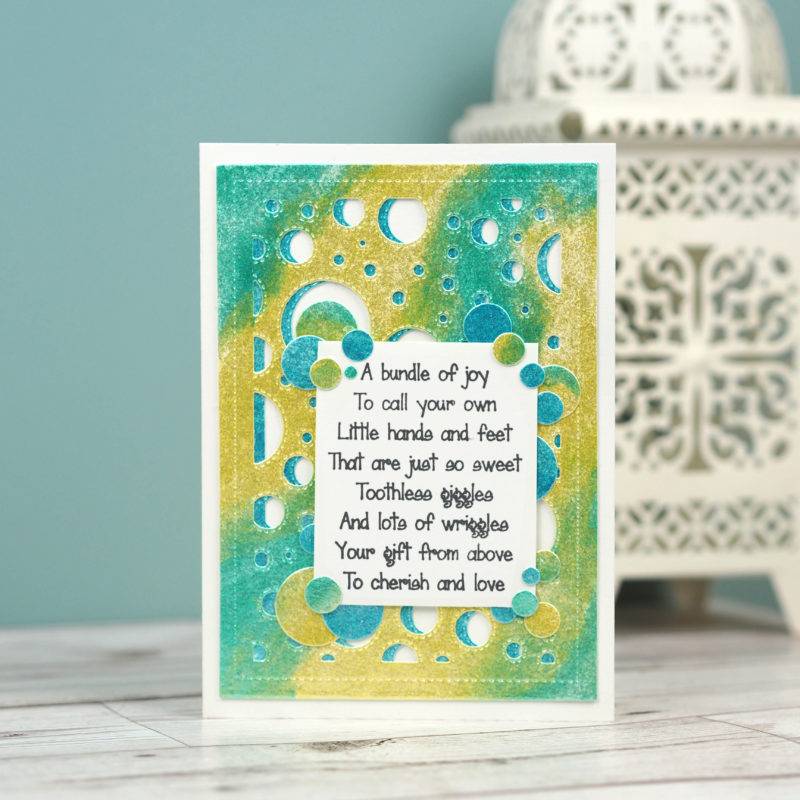
New Baby Card by Gerry van der Velden
Use our step by step instructions to create this shimmery bubble inspired card, perfect to congratulate a friend on the arrival of their new baby. Designed by Gerry van der Velden *** Experience Level: Intermediate
You will need:
- Cosmic Shimmer Luna Paste Stellar Jade CSLPSJADE
- Cosmic Shimmer Luna Paste Stellar Aqua CSLPSAQUA
- Cosmic Shimmer Luna Paste Stellar Lemon CSLPSLEMON
- Black Archival Ink ARCHBLK
- Cosmic Shimmer Acrylic Glue CSGLUE
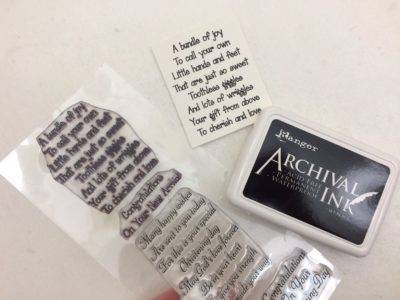
- New Baby & Christening Verses Clear Stamp Set SYC013
- Background Collection Solar Circles CEDLH1022
- Coconut White cardstock 40980
These handy tools will make your card creation process much simpler!
Step by Step Instructions

Step 1
Spread the Stella Lemon Luna Paste onto a piece of Coconut White card 15 x 10.7 cm. Spread the paste with your finger or a palette knife.
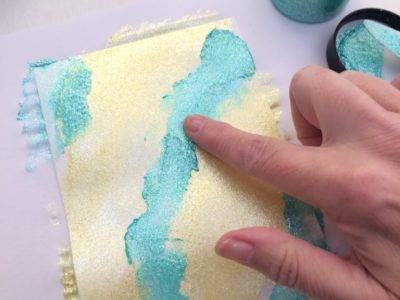
Step 2
Add the Stellar Jade Luna Paste and blend it with your finger. Let the paste dry really well.
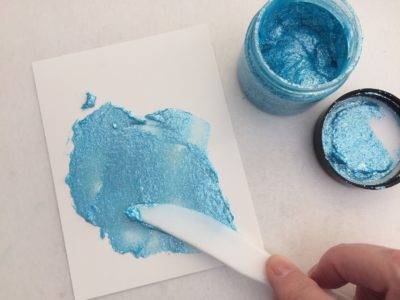
Step 3
Apply Stellar Aqua Luna Paste onto a piece of Coconut White card 15 x 10.7 cm. Let this dry too. In the meantime cut a piece of Coconut white cardstock 16 x 23 cm and fold in half.

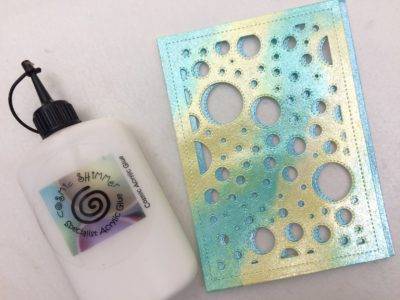
Step 4
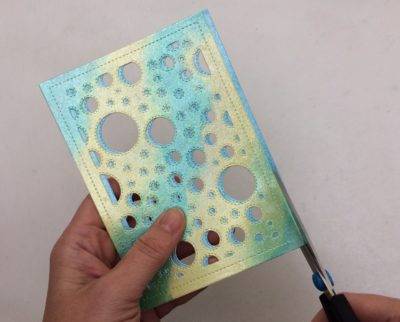
After drying, cut the coloured pieces of card using the Solar Circles die.
Step 5
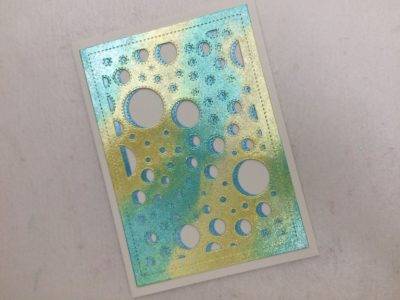
Glue the Solar Circle backgrounds together slightly offset so the Aqua shows slightly. Some tape along the edges works really well.
Step 6
Cut off the strip on the side of the card.
Step 7
Glue the whole piece to the folded Coconut White card.
Step 8
Stamp the sentiment with black ink onto a piece of Coconut White card 6 x 7.5 cm.

Step 9
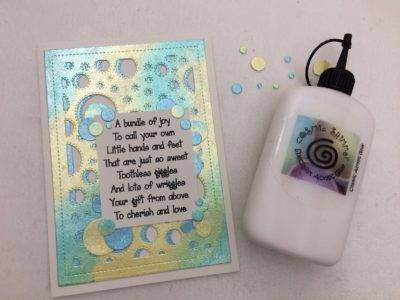
Add foam tape on the back of the sentiment for extra dimension.
Step 10
Place the sentiment onto the background and glue some of the coloured circles from the die cut to the card for added detail.